The Reverse Sear Technique
Understanding Reverse Searing
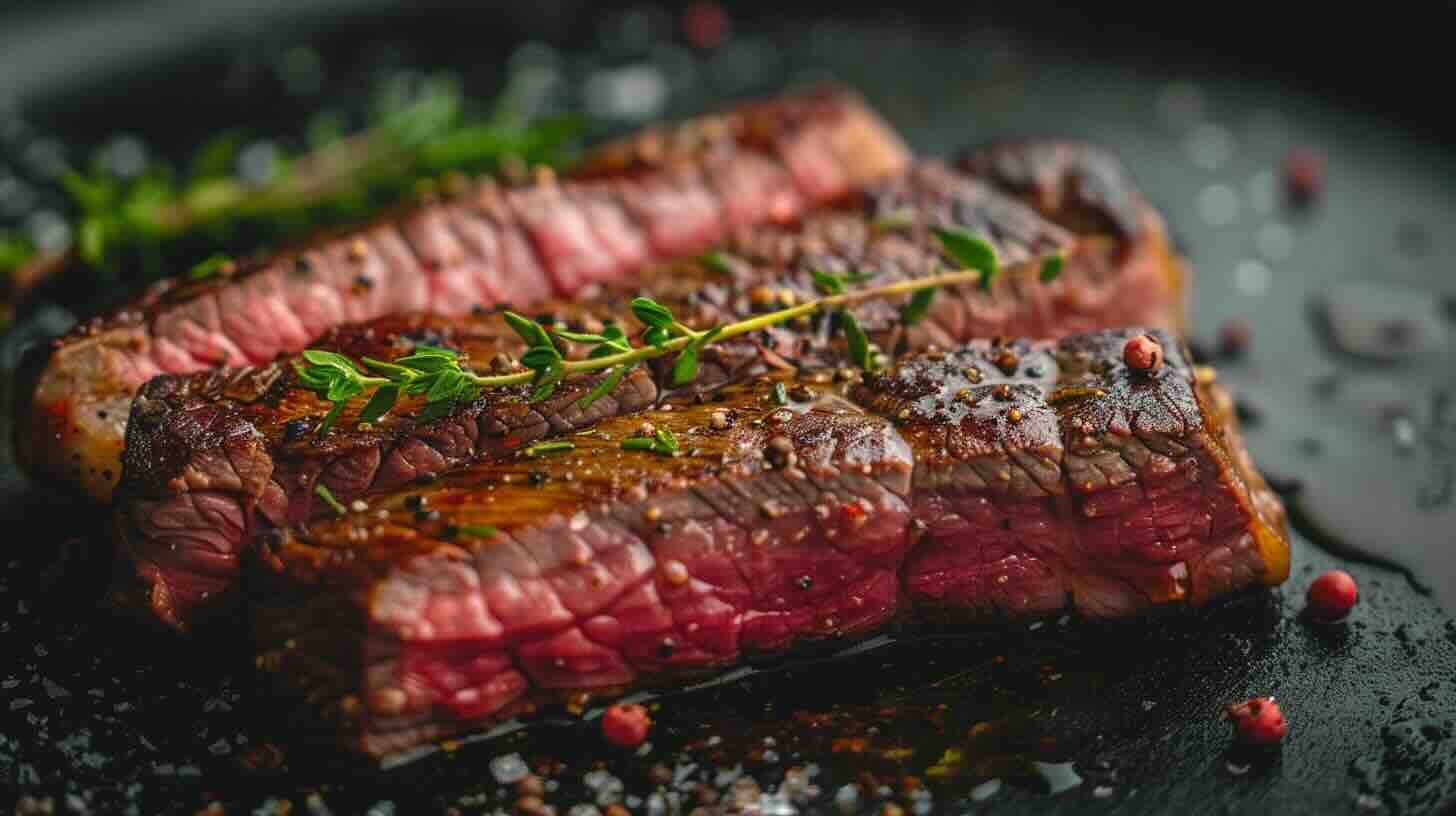
The reverse sear method is a popular technique for achieving perfectly cooked steak. It involves slow-cooking the meat at a low temperature in the oven, followed by a high-heat sear in a cast-iron skillet to form a dark, crispy crust. This method allows the steak to cook evenly from edge to edge, ensuring that every bite is cooked to your desired level of doneness.
When you cook steak at a low temperature, it allows for gradual chemical and thermal reactions. This results in a steak that is evenly cooked throughout, without any gray or overcooked edges. The process typically involves:
- Preheating the oven to a low temperature (usually around 250°F).
- Placing the seasoned steak on a wire rack set over a baking sheet.
- Cooking the steak in the oven until it reaches the desired internal temperature.
- Heating a cast-iron skillet until it is very hot.
- Searing the steak in the skillet for a short period to achieve a perfect crust.
Benefits of Reverse Searing
The reverse sear technique offers several advantages over traditional methods of cooking steak. Here are some of the key benefits:
- Control Over Doneness: The reverse sear method provides more control over the level of doneness of the steak. By cooking the steak slowly and monitoring its internal temperature, you can achieve a perfect medium-rare, medium, or any other desired doneness level.
- Even Cooking: This method ensures that the steak is evenly cooked from edge to edge, without the gradient of doneness often seen in traditionally cooked steaks. This means a consistent and delicious bite in every mouthful (Over the Fire Cooking).
- Enhanced Flavor and Texture: By dehydrating the surface of the steak in the oven, the reverse sear method creates the Maillard Reaction, resulting in a juicy interior and a flavorful, crunchy crust. This method also allows for the use of drippings and juices as a topping for extra flavor.
- Prevention of Overcooking: The slow cooking process allows for gradual heating, reducing the risk of overcooking the steak. This makes it easier to achieve the perfect doneness without sacrificing tenderness or juiciness.
| Benefit | Description |
|---|---|
| Control Over Doneness | Achieve precise doneness levels |
| Even Cooking | Consistent texture throughout |
| Enhanced Flavor and Texture | Juicy interior and crunchy crust |
| Prevention of Overcooking | Reduced risk of overcooking |
For a step-by-step guide on how to reverse sear a steak, check out our detailed article on how to reverse sear steak. Additionally, if you’re looking to try this technique on specific cuts, we have guides for reverse sear filet mignon, reverse sear tomahawk steak, and reverse sear ribeye steak.
Choosing the Right Cut
Selecting the appropriate cut of steak is crucial for mastering the reverse sear steak recipe. The right cut ensures even cooking, optimal flavor, and a perfectly seared crust.
Ideal Steak Cuts for Reverse Searing
For the reverse sear method, thick-cut steaks are preferred. The following cuts are ideal for this technique:
- Ribeye: Known for its marbling and rich flavor, ribeye steaks are perfect for reverse searing. You can also explore our detailed guide on reverse sear ribeye steak.
- Filet Mignon: Tender and lean, filet mignon benefits greatly from the slow cooking process. Check out our article on reverse sear filet mignon.
- New York Strip: This cut offers a balance of tenderness and flavor, making it a popular choice.
- Porterhouse: Combining the best of both worlds—filet mignon and New York strip—this cut is ideal for reverse searing.
- T-Bone: Similar to the porterhouse but with a smaller filet section, the T-bone is another excellent option.
- Tomahawk Steak: Impressive and flavorful, the tomahawk steak is perfect for special occasions. Learn more about the reverse sear tomahawk steak.
- Tri-Tip: While not as thick as other cuts, tri-tip can be reverse seared with careful monitoring.
| Steak Cut | Description | Recommended Thickness |
|---|---|---|
| Ribeye | Rich marbling, intense flavor | 1.5 – 3 inches |
| Filet Mignon | Tender, lean | 1.5 – 2 inches |
| New York Strip | Balanced tenderness and flavor | 1.5 – 2 inches |
| Porterhouse | Combination of filet mignon and New York strip | 1.5 – 3 inches |
| T-Bone | Similar to porterhouse, smaller filet section | 1.5 – 3 inches |
| Tomahawk Steak | Impressive, rich flavor | 1.5 – 3 inches |
| Tri-Tip | Lean, triangular shape | 1.5 – 2 inches |
Thickness Matters in Reverse Searing
The thickness of your steak is a critical factor in achieving the best results with the reverse sear technique. Thicker cuts, preferably 1 ½ inches or more, are recommended for several reasons:
- Even Cooking: Thicker steaks allow for more even heat distribution, ensuring the center reaches the desired temperature without overcooking the exterior.
- Flavor Development: A thicker cut provides a larger surface area for searing, resulting in a flavorful crust.
- Moisture Retention: The slow cooking process of reverse searing helps retain the steak’s natural juices, leading to a moist and tender finished product.
Thicker cuts such as ribeye, T-bone, porterhouse, New York strip, tomahawk, and filet mignon are perfect for reverse searing (Food Republic). While thinner cuts like flank or skirt steaks can be reverse seared, they may not achieve the same level of perfection due to their quick cooking time and potential for overcooking during the searing phase.
For more details on how to properly reverse sear a steak, visit our comprehensive guide on how to reverse sear steak.
Mastering the Reverse Sear Process
The reverse sear technique is a game-changer for steak lovers. It involves cooking the meat to perfection on low heat in the oven before searing it in a cast-iron skillet to achieve a dark, crisp crust (Y.O. Ranch Steakhouse). Understanding the step-by-step process and mastering some key tips will elevate your steak game.
Step-by-Step Guide to Reverse Searing
- Preheat the Oven: Set your oven to 275°F (135°C). This low temperature helps cook the steak evenly.
- Season the Steak: Generously season your steak with salt and pepper or your favorite rub. Let it rest at room temperature for about 30 minutes.
- Prepare a Wire Rack: Place a wire rack on a baking sheet. This setup allows air to circulate around the steak, ensuring even cooking.
- Bake the Steak: Place the steak on the wire rack and put it in the oven. Cook until the internal temperature reaches 110°F (43°C) for rare, 120°F (49°C) for medium-rare, or 130°F (54°C) for medium. Use a meat thermometer for accuracy.
- Rest the Steak: Remove the steak from the oven and let it rest for 10-15 minutes. This step is crucial as it allows the juices to redistribute.
- Sear the Steak: Heat a cast-iron skillet over high heat. Add a tablespoon of oil with a high smoke point, like vegetable or canola oil. Sear the steak for 1-2 minutes on each side until a dark, crispy crust forms.
- Serve Immediately: Slice and serve your perfectly cooked steak.
Tips for Perfect Reverse Seared Steaks
- Choose Thick Cuts: The reverse sear method works best on thick-cut meat, requiring the steak to be at least 1.5 inches thick (Jess Pryles). Thin cuts are not suitable for this technique.
- Use a Meat Thermometer: Ensure precise cooking by using a meat thermometer. This helps avoid overcooking and ensures your steak reaches the desired doneness.
- Rest Before Searing: Resting the steak before the final sear allows the juices to redistribute, ensuring a juicy and flavorful bite.
- Season Generously: Salting the steak ahead of time enhances the flavor and helps create a nice crust during the sear.
- Control the Heat: Ensure that your skillet is extremely hot before searing. This high heat is essential for achieving the perfect crust (Y.O. Ranch Steakhouse).
- Experiment with Flavors: Add herbs, garlic, or butter during the searing process for extra flavor. These additions can enhance the taste profile of your steak.
By following this guide and keeping these tips in mind, you’ll be able to master the reverse sear steak recipe and impress your guests with a steak that’s perfectly cooked inside and out. For more specific cuts, check out our guides on reverse sear filet mignon, reverse sear tomahawk steak, and reverse sear ribeye steak.
Enhancing Your Reverse Seared Steak
Resting and Serving Your Steak
Resting the steak after searing is essential for reverse seared beef. It allows the sear to drive moisture to the outer layer of the meat, resulting in a more flavorful outcome. Resting for at least 5-15 minutes after cooking allows the juices to redistribute throughout the meat, resulting in a more tender and juicy steak (Made In Cookware).
Here’s a simple table to guide the resting period:
| Steak Thickness | Resting Time |
|---|---|
| 1 inch | 5-7 minutes |
| 1.5 inches | 10-12 minutes |
| 2 inches | 12-15 minutes |
After resting, slice the steak against the grain for maximum tenderness. Serve immediately to take full advantage of the juicy, flavorful meat.
Variations and Flavor Additions
Elevate your reverse sear steak recipe with various flavor additions and techniques. Here are some popular variations:
- Butter Basting: During the final sear, add a few tablespoons of butter, crushed garlic, and fresh herbs like rosemary or thyme to the pan. Continuously spoon the melted butter over the steak for an extra layer of richness.
- Marinades and Rubs: Before cooking, marinate your steak in a mixture of olive oil, soy sauce, garlic, and spices, or apply a dry rub of your favorite seasonings for enhanced flavor.
- Smoke Infusion: Use a smoker during the initial cooking phase to infuse a smoky flavor that complements the meat’s natural taste. This method works particularly well for cuts like the reverse sear tomahawk steak.
For more detailed guidance on specific cuts and techniques, visit our articles on reverse sear filet mignon and reverse sear ribeye steak.
By incorporating these variations and understanding the importance of resting, you can master the art of the reverse sear steak recipe and enjoy a perfectly cooked steak every time.


